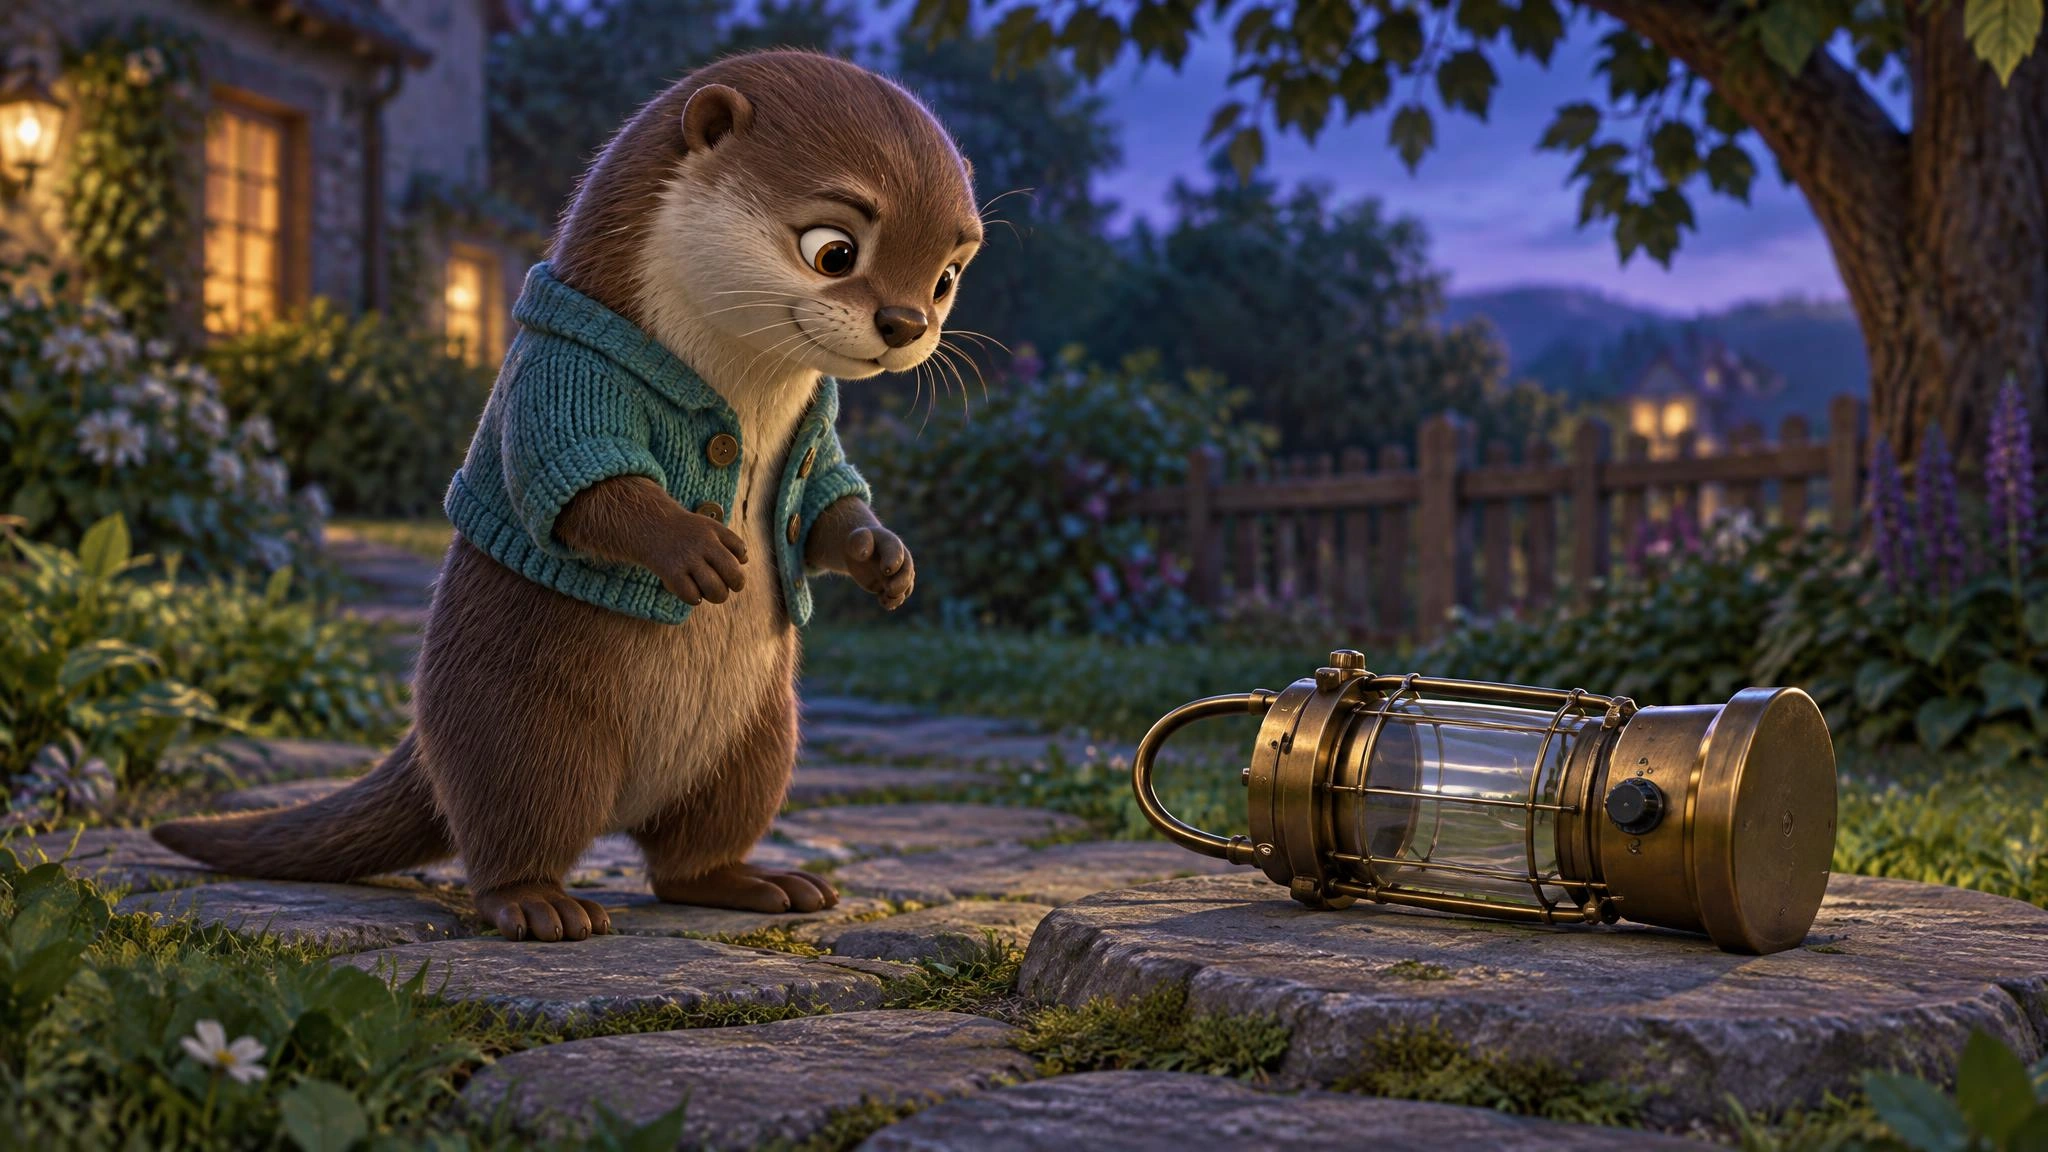
Original character image
The otter, teal jacket, and brass lantern establish the visual reference.
Turn a story idea or character image into a 3D-style animation video. Shape the look, direct the action, and refine each shot in OiiOii.
Add a clear character image, then describe what happens next.
Start with the character you already have
Upload a clear character image and reference it in your video request. For this lantern story, the otter reference establishes the character, outfit, and setting. Describe what happens next separately so the image can guide the look while your direction shapes the action.
The otter, teal jacket, and brass lantern establish the visual reference.
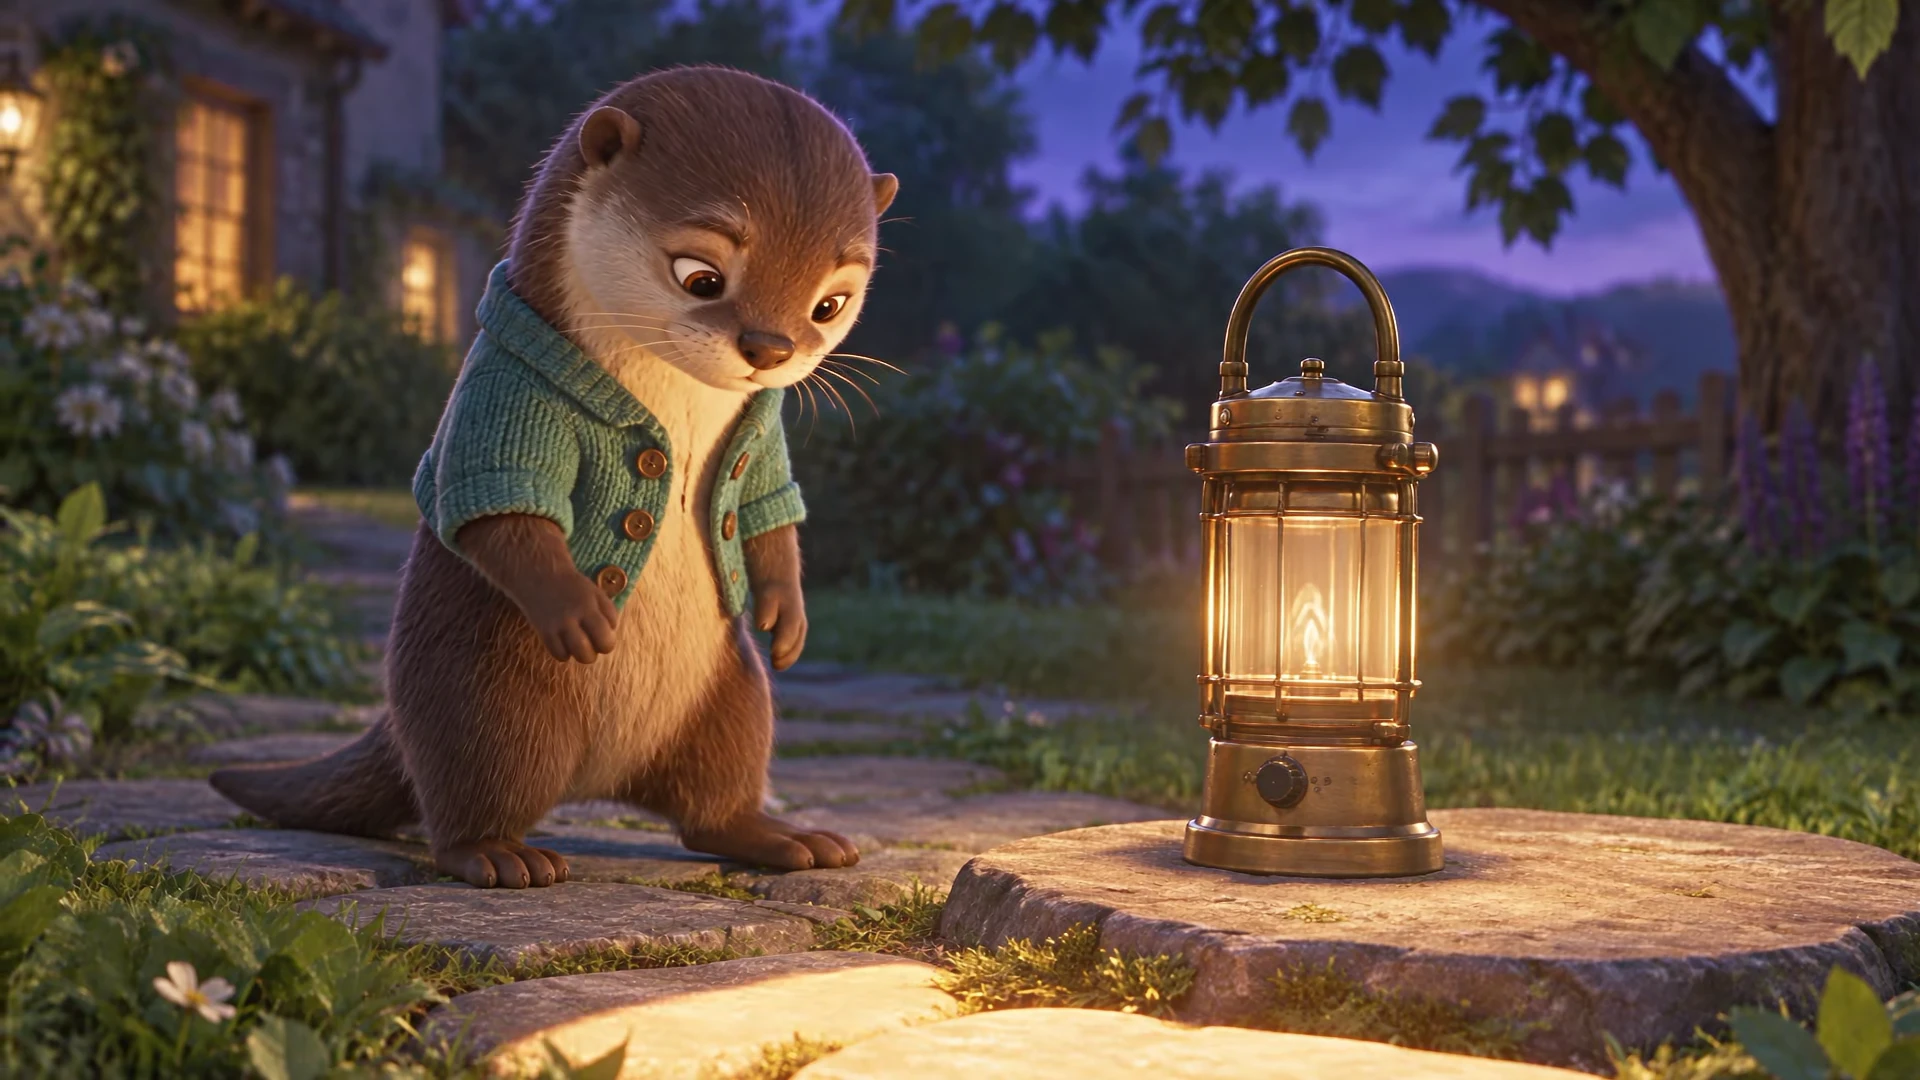
Compare the animation with its source image: check the otter's silhouette, jacket, and the lantern design. Use an AI 3D video generator to develop the scene, then review the movement and prop contact before choosing the shot.
“”
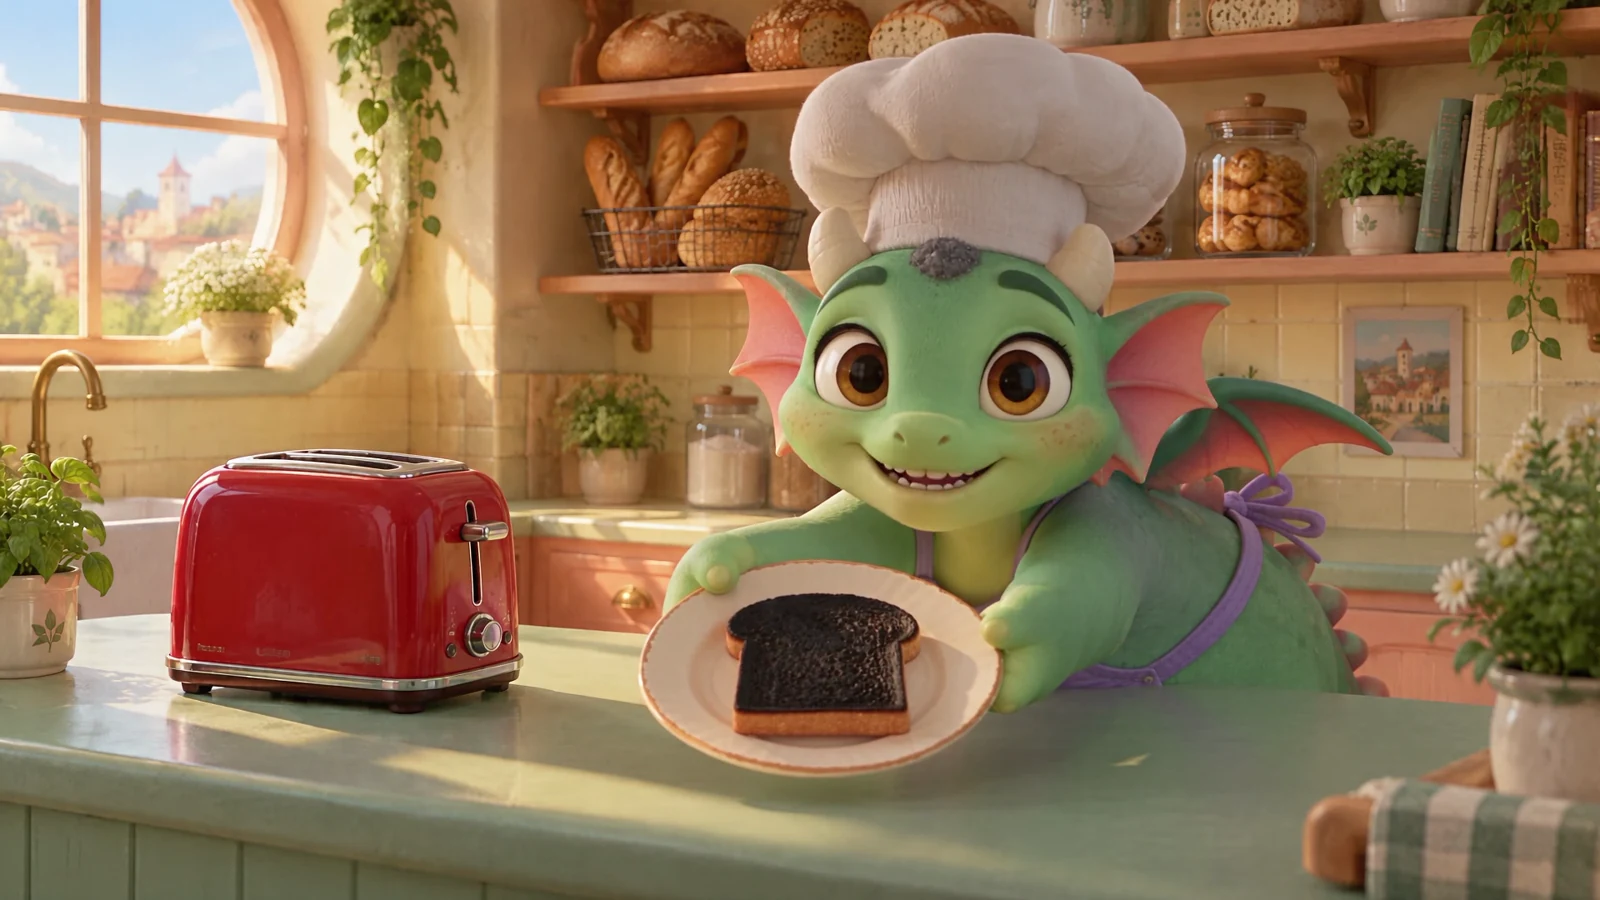
A mint-green dragon tries to toast bread and takes the heat too far. This standalone story example shows how a simple everyday task can become a character moment in AI 3D animation. Give the scene a clear intention, an action, and a visible consequence.
For your own scene, describe the character, the task, and the reaction you want to reveal. Keep the key prop visible and review the timing of the action and payoff. Use the dragon example as story inspiration when planning your next animation.
Use OiiOii as an AI storyboard generator within your story workflow. Turn the idea into a shot list, check what happens in each scene, and reorder or rewrite shots before creating the video.
Reuse the character, scene, and prop references across shots. Check the otter's jacket, the lantern design, and the direction of the path as the camera changes position.
If a paw misses the lantern or the reveal arrives too early, revise that shot's description and regenerate it. Compare versions before placing the replacement into the sequence.
Bring the chosen clips together in Canvas. Add or adjust music, voice, and timing so a quiet setup, a lantern click, and the final reaction form one complete moment.
What to show: A fallen lantern beside the otter on a dark path.
What to check: The character looks toward the lantern; the path and lantern stay in place.
What to show: The otter lifts the lantern, sets its base down, then turns the handle.
What to check: Paws keep contact; there is one lantern and a clear supporting surface.
What to show: Warm light reaches the path and the otter reacts.
What to check: The light starts after the handle turns; the lantern stays upright.
A planning example for a short 3D-style story. Keep the setup, action, and payoff readable before adding more shots.
Start with an idea, a short script, or a character image. Choose a 3D look and describe the materials, setting, and main action. Decide whether the video is a single moment or a connected story.
For a story, check the character and scene assets, then review the shot list and storyboard images. Make the camera angle and the action clear before generating each video shot.
Watch each clip from beginning to end. Check paws or hands, prop contact, direction of travel, and the change that ends the shot. Rewrite a confusing action and regenerate the affected shot.
Arrange the selected clips, adjust the pacing, and add the sound your story needs. Preview the complete sequence, then download the finished video.
Write what the character does first, then describe the camera. For the lantern scene, keep the camera still while the otter lifts it; move closer only after the lantern is safely upright.
When a scene depends on a character path or camera move, use AI 3D previsualization to plan positions and movement with a rough white-model animation. Treat it as a spatial reference for the final styled video.
Choose the next tool for the part of the project you want to develop.
Include the character, setting, main action, visual style, and camera behavior. For example, describe a soft-furred otter lifting a fallen brass lantern on a garden path, then turning its handle. Put the actions in order and say when the camera moves. A single readable action is a better starting point than several unrelated events.
Yes. Upload your character image and reference it in the request so OiiOii can use it as visual guidance. Choose a clear image with the face and important body details visible. Describe the desired action and keep the reference available when reviewing the result. For a 3D-style scene, a reference that already shows the intended shapes and materials gives clearer direction.
Reuse the same character asset and references, and keep the outfit, proportions, and key features consistent in your shot descriptions. Compare neighboring shots for changes in the face, silhouette, clothing, and props. References help guide continuity; review the generated frames and regenerate shots with distracting differences.
Yes. In the story workflow, you can edit a shot description, change its place in the shot list, and regenerate that shot. Review the replacement beside the shots before and after it: a new camera angle or ending pose can affect the transition even when the rest of the story stays the same.
State where the character starts, where it moves, and what the camera should reveal. Keep subject motion and camera motion separate. For a complicated path or camera move, AI 3D previsualization can help establish positions and movement before you generate the final styled scene. Check that the finished shot follows the intended direction and keeps the important action visible.
Start with a character, one clear action, and a moment worth watching.