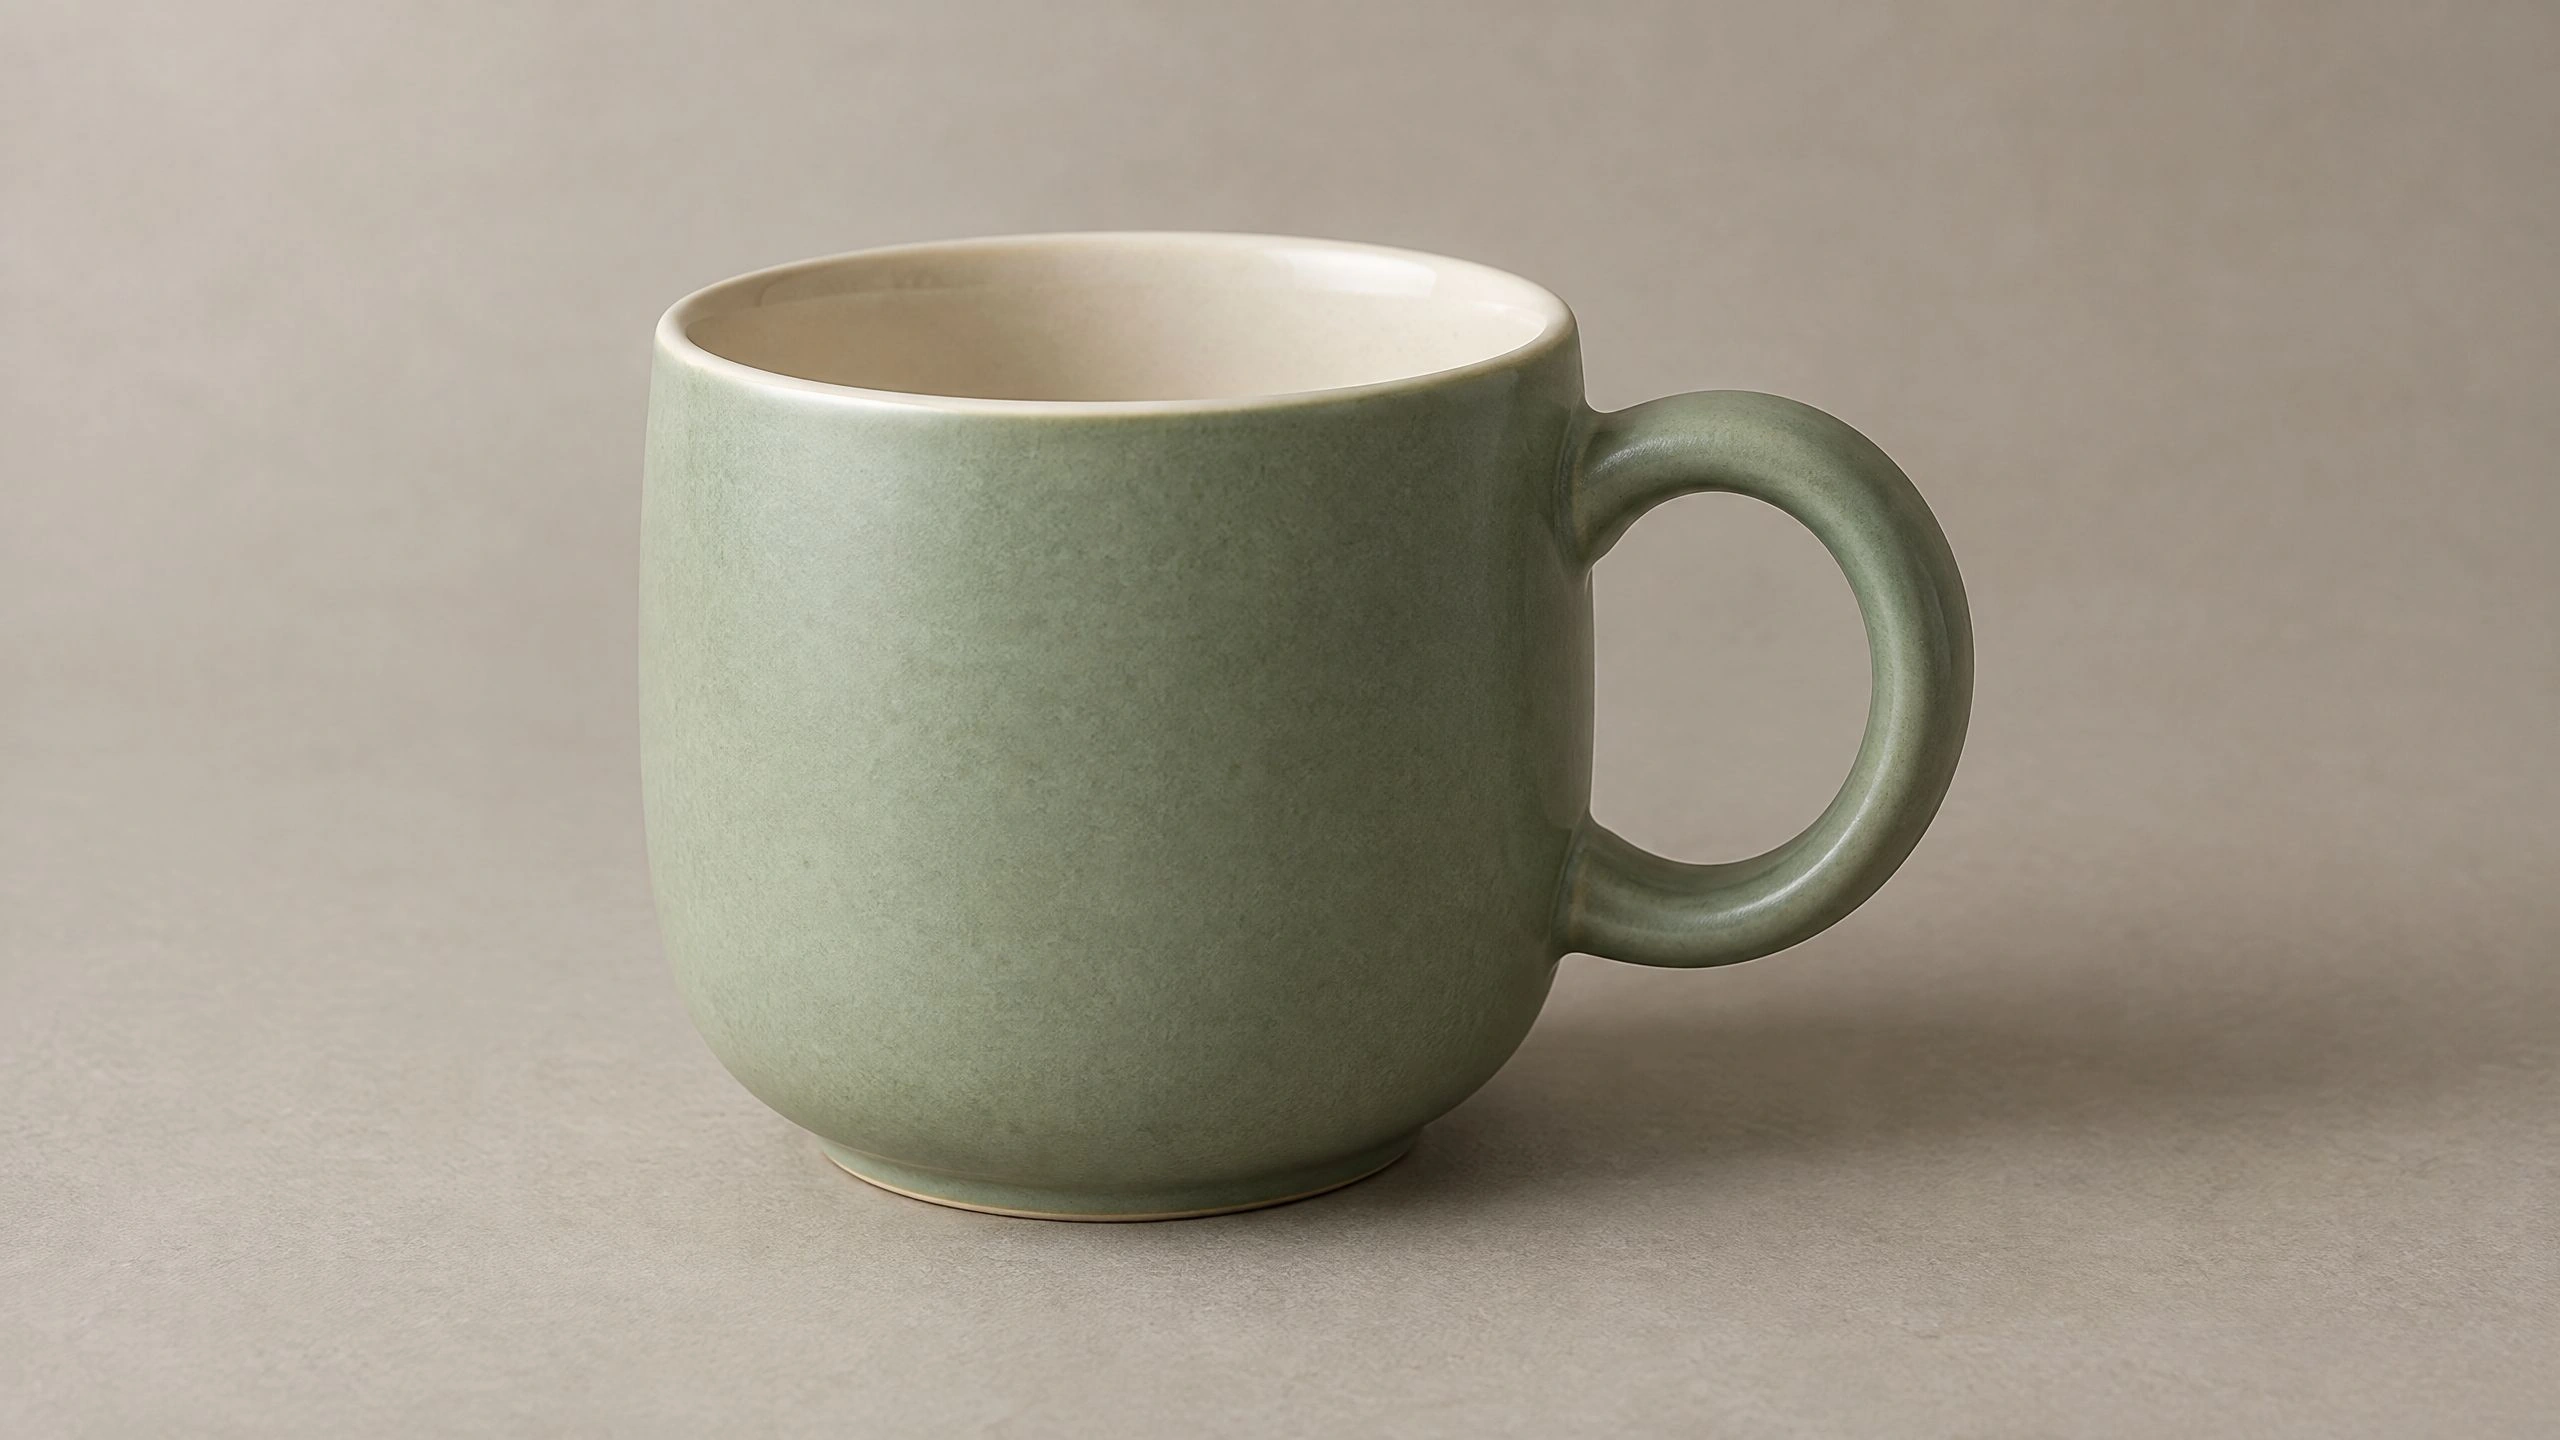
Original image
The starting product reference.
Create product visuals, posters, and character images with GPT Image 2.6 on OiiOii. Start with a description or reference image, then refine the composition and details in your workspace.
Product scene brief
Explore three visual briefs for your next image. These concept illustrations show how to plan a subject, setting, and composition.
Build a product scene around the object you want people to notice. Use a clear reference image, describe the new surface and lighting, and specify which product details should stay. A ceramic coffee cup can move from a simple studio setup to a warm cafe campaign without changing the creative brief halfway through.
The starting product reference.
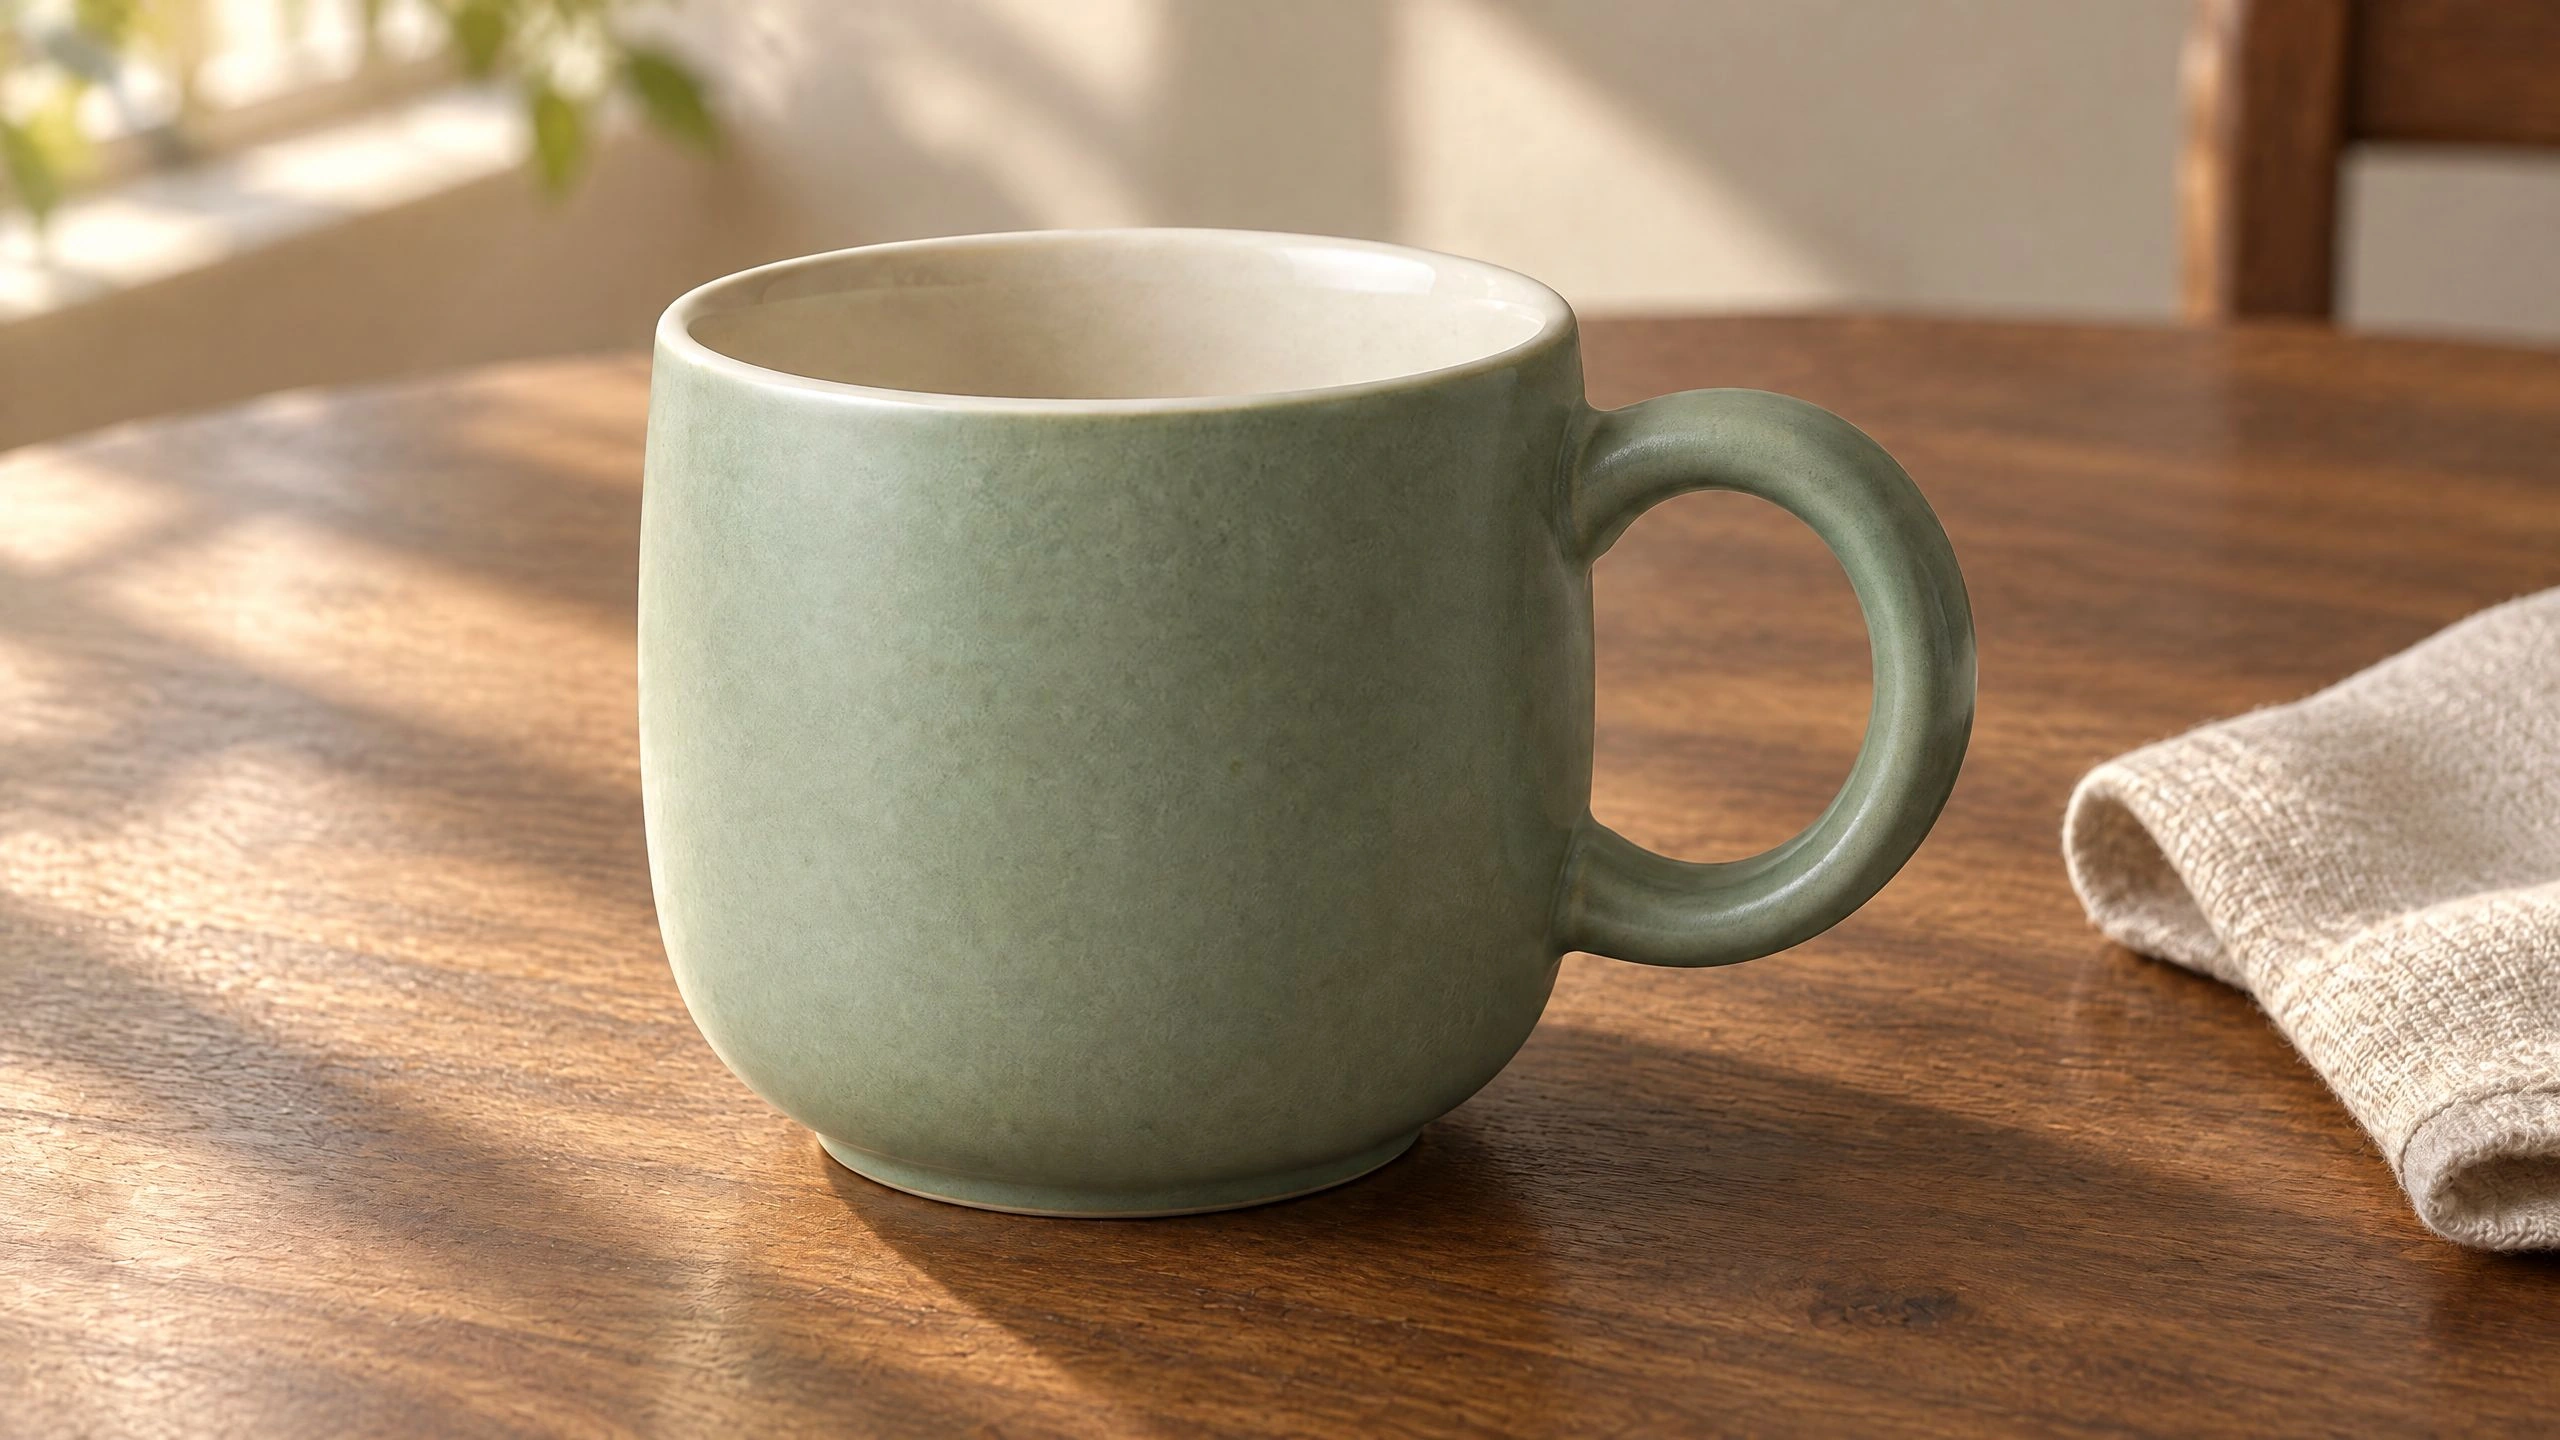
A visual brief illustration with a new surface and light.
Keep the cup shape and handle. Replace the plain backdrop with a sunlit cafe table, a folded linen napkin, and soft window shadows. Compare the result with the reference before choosing your final image. Visual brief illustration: one product, a new setting.
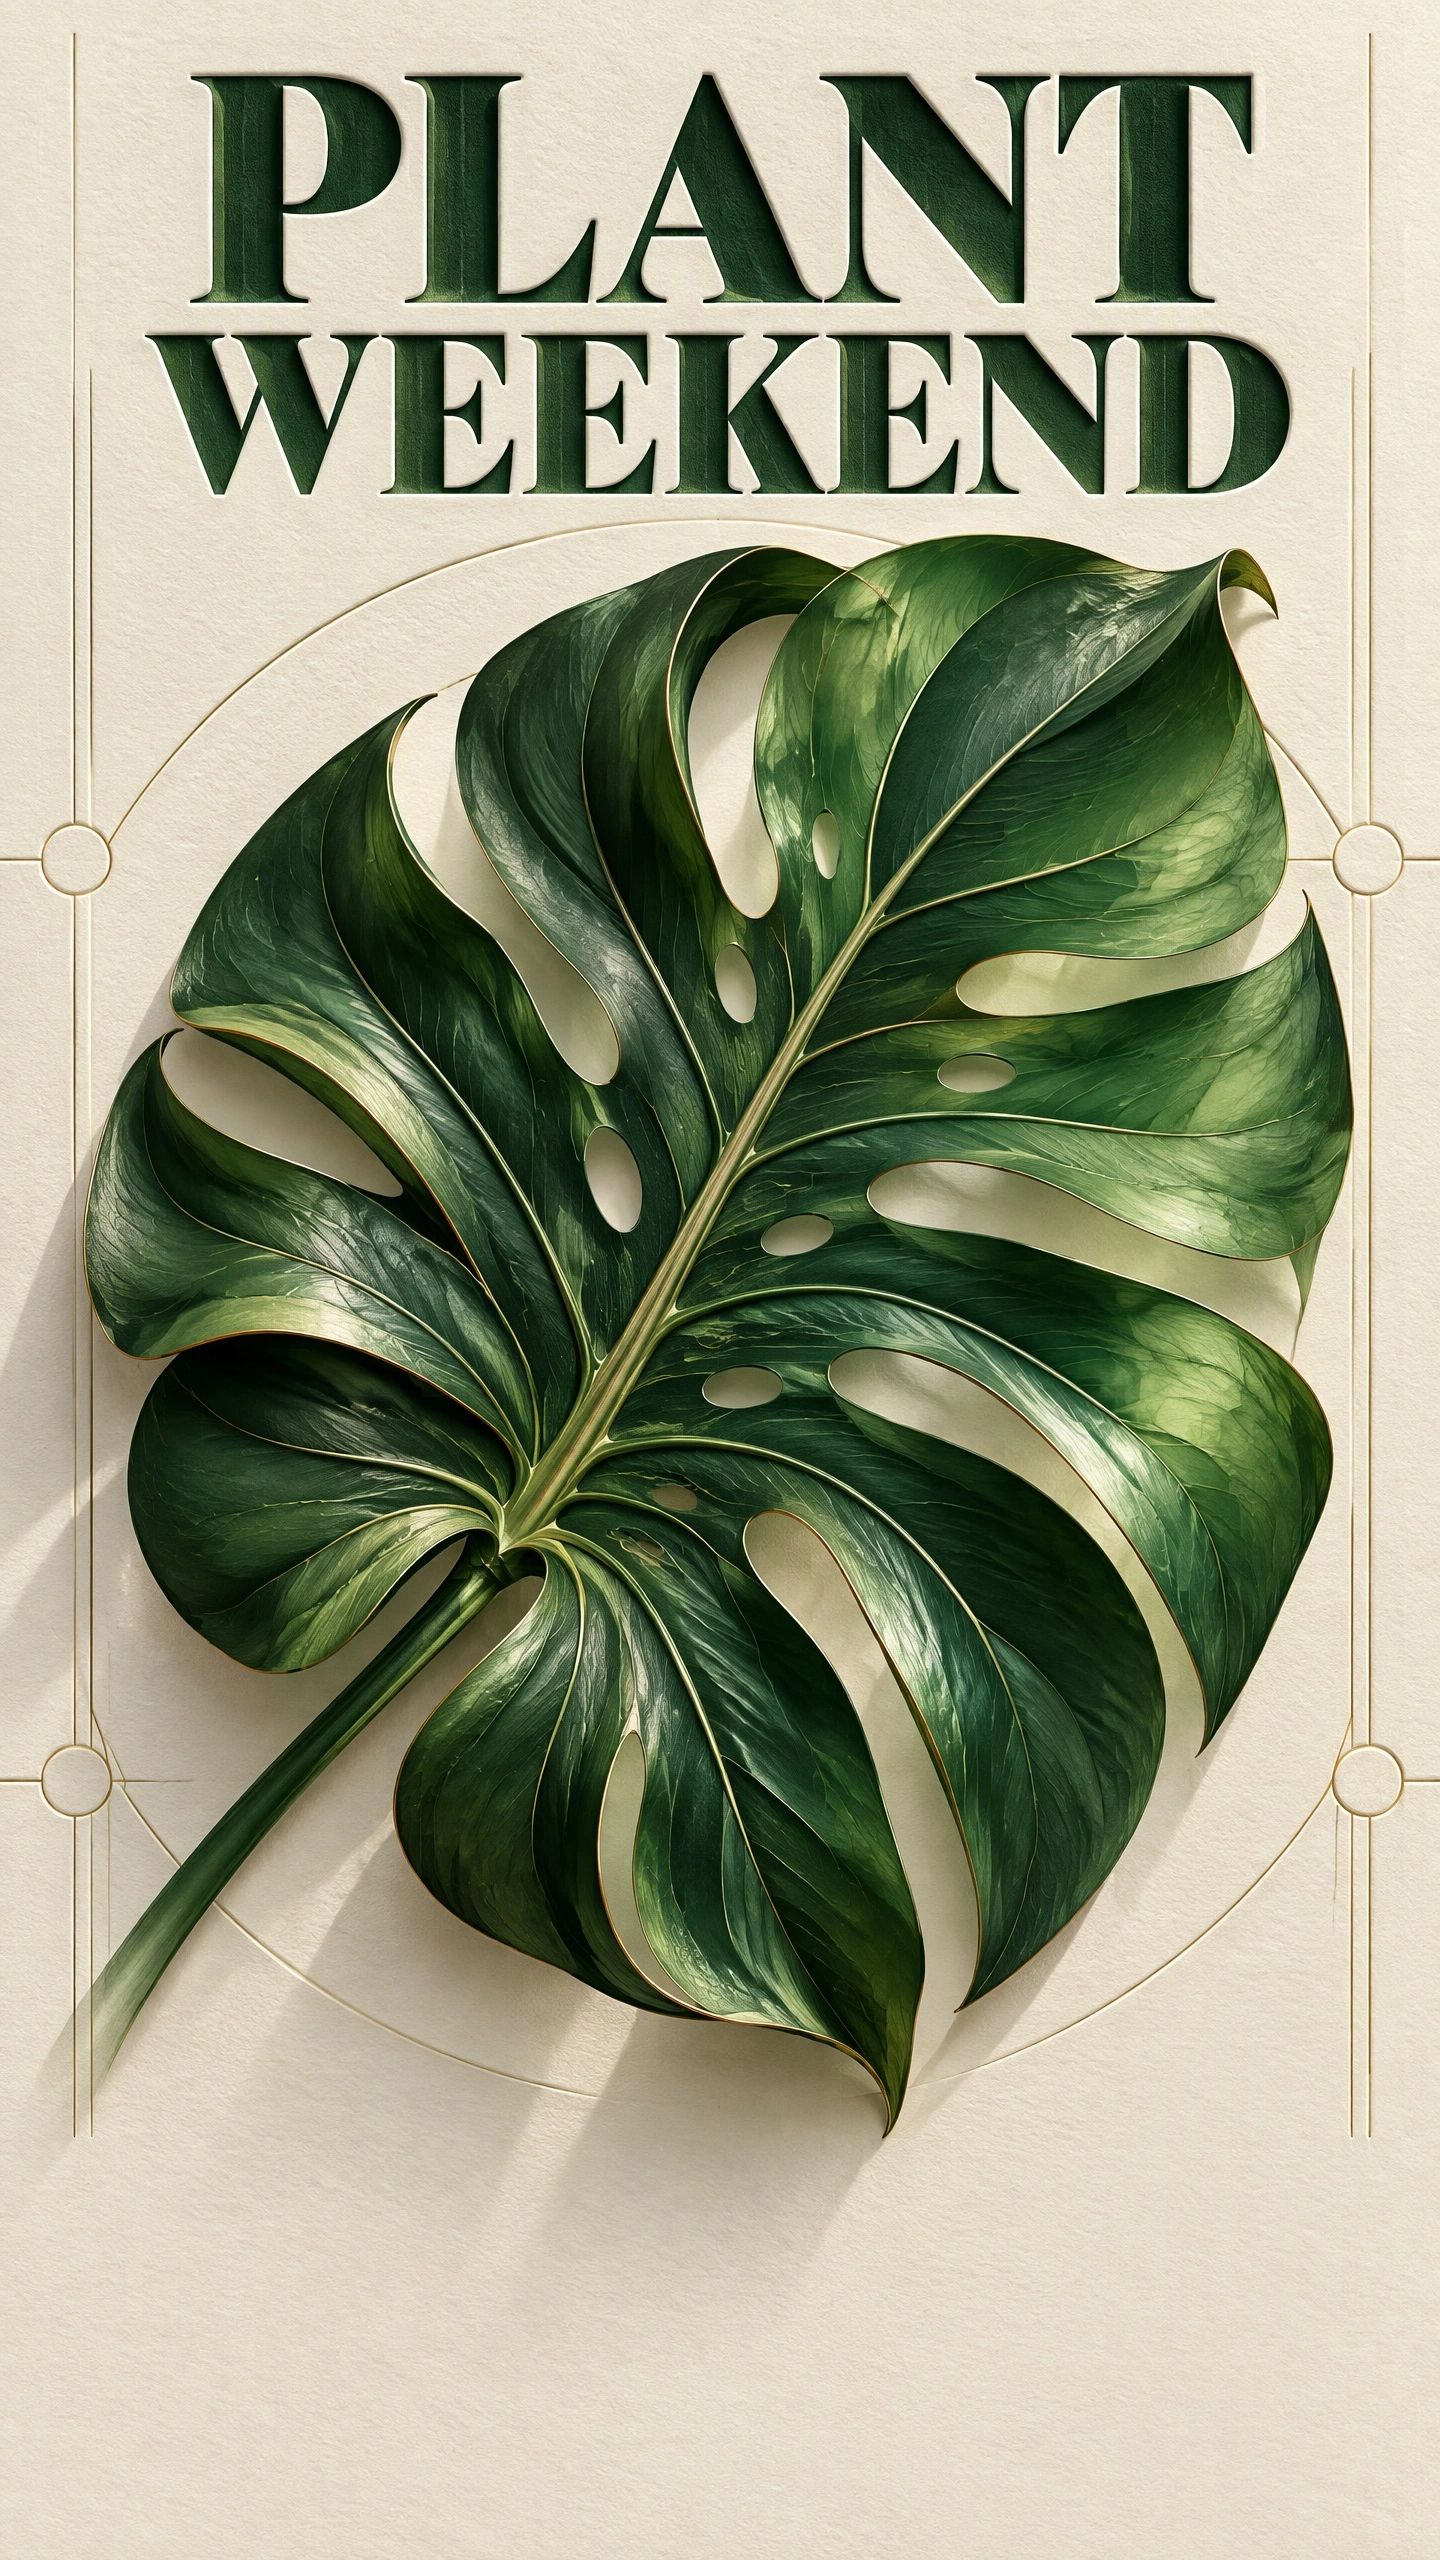
Give the headline a place in the composition before adding decorative detail. For a weekend plant market, pair one sculptural leaf with a short headline and a restrained palette. Specify the exact words and where they belong, then check the lettering at the size people will actually see.
Use a cream background, deep green leaf shapes, and the headline "PLANT WEEKEND" across the top. Keep a clean area below for event details you will add later.
Poster concept: a short headline with room for event details.
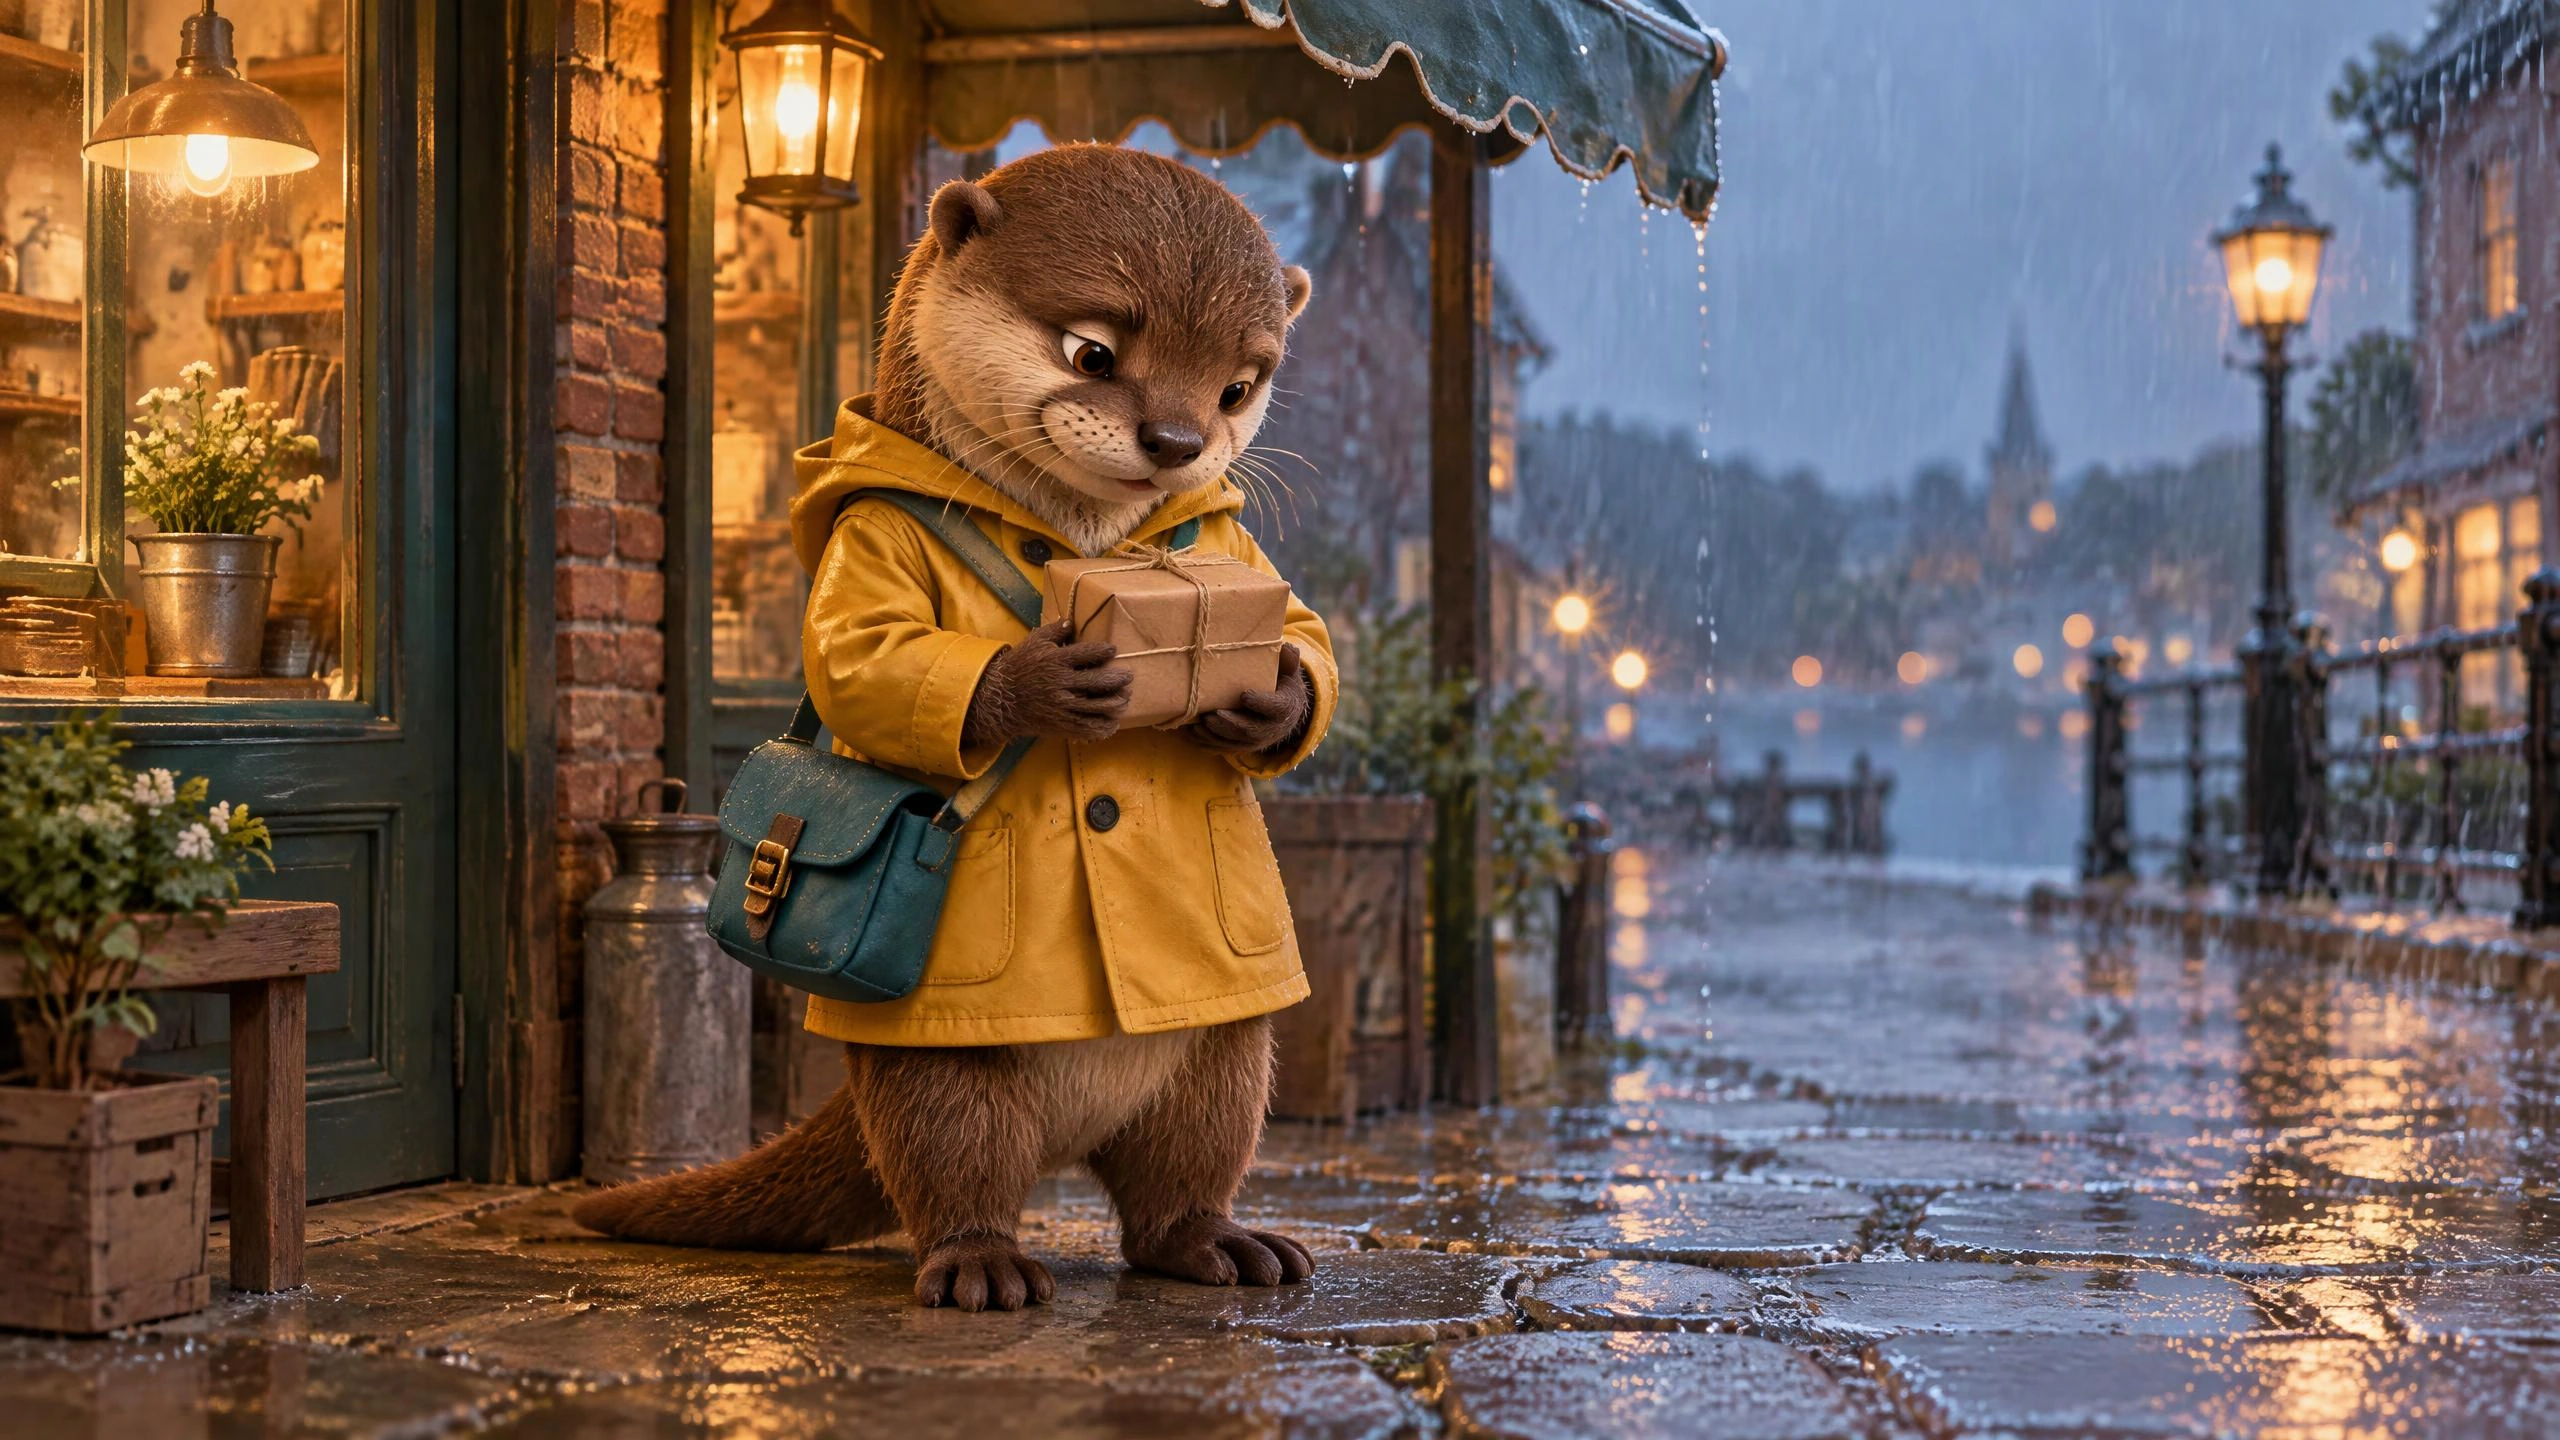
Start with a silhouette, a small set of colors, and one defining accessory. A small otter courier with a mustard raincoat and a teal delivery satchel has a clearer identity than a long list of unrelated style words. Save the image you like and reference it when developing the next scene in OiiOii.
Show the courier pausing beneath a shop awning with a single parcel held against its chest. Keep the raincoat, satchel, and face visible so the image can guide later creative decisions.
Character concept: a readable silhouette, distinct materials, and a simple action.
Include in the brief: Reference product, new setting, light direction, details to retain.
Check in the result: Shape, handle or edges, color, and contact shadows.
Include in the brief: Exact headline, text placement, palette, space for later copy.
Check in the result: Spelling, reading order, and contrast at the intended size.
Include in the brief: Silhouette, outfit, defining accessory, expression, and pose.
Check in the result: Face, visible limbs, accessories, and a clear outline.
Include in the brief: The reference image, one requested change, and elements to preserve.
Check in the result: Requested change plus important details elsewhere in the frame.
A useful brief connects the intended image to details you can inspect. For an edit, separate what should change from what should remain. Use these checks to choose your next revision, not just to add more words to the prompt.
Open image creation and select GPT Image 2.6. Choose the available Flare or Sunburst option, then start from text or attach the reference image you want to use.
Name the subject, layout, lighting, and any exact text. For editing, reference the image and state the change alongside the details you want to preserve.
Review the image in your workspace. Compare it with your brief or reference, then request a focused revision. Keep the version that best fits your intended use.
Include the subject, setting, composition, lighting, and style. If the image needs words, put the exact text in quotation marks and describe its position. For a product scene, add the material, viewing angle, and space you need around the object. Give the model a clear priority rather than several competing directions.
Choose an image where the subject and important details are easy to see. Upload or reference it in your OiiOii workspace, then explain what should change and what should remain. For a cup scene, for example, ask for a new background while retaining the cup shape, handle, and color. Referencing the actual image is more useful than mentioning its filename alone.
Compare the edit with the original. Check the requested change first, then inspect the subject shape, lettering, edges, and nearby objects. Look at the rest of the frame as well: an edit can affect details outside the area you had in mind. If something drifts, request a focused correction using the version you want to preserve as the reference.
GPT Image 2.6 is available with Flare and Sunburst options. Choose the option in the image model selector before generating. To compare them for your own task, use the same brief and reference, then judge the details that matter to you, such as layout, lettering, or how well an edit follows your request.
Keep the headline short, provide its exact wording, and specify where it should sit in the layout. Separate the main headline from any secondary copy. Inspect spelling and letter shapes at the intended viewing size; for details that must be exact, leave space and add the final text during layout editing.
Choose a next step that fits the image you are developing.
Start with a product, a poster idea, or a character you want to bring to life.